
Another look into my secret baby board:


I have this friend named Julie, she is pretty awesome. She cooks for us more than I do, she brought me ketchup flavored Pringles from Germany, she loves Harry Potter, and she is generally really cool. Julie is expecting a baby boy in October and I knew it was time for me to pay it forward. Or I guess pay it back. A while ago she found an adorable elephant lamp that would have matched her nursery perfectly, the down side was that it ran at about $50.00. Right, ok, college students have enough room in their budget to drop that kind of money on a lamp.
After she told me about the lamp I pulled up a picture of this elephant clock, which is adorable and amazing, but also runs at about $50.00. Not in the budget. But as I said above, Julie is amazing and I basically owe her my life, so I knew I needed to make some magic happen.
After thinking about it for a few days I had a plan. My parents own a small scroll saw, I have access to paint and a craft store to buy hands for a clock, I could make this happen.
This idea came to me about two months ago, so naturally I didn't start working on it until the day before the baby shower. Some things never change. Luckily my parents/husband are awesome and the gave me some serious help. My dad drew out a version of the elephant on some extra wood he had, Spencer did most of the cutting, and various friends/old bosses helped with the paint, vinyl letters, and clock hands.
I'm super proud of how it all turned out, and by how much money was saved by making it myself! So many times I feel like making things yourself is more work than it's worth, while in reality that has never been true for me. I love making my own things because they are so much more personal. They're usually not perfect, but that's what makes them yours. I'm so grateful to have so many amazing resources! It was one of those times when I realized how lucky I am to have lived in one place so long. I could never call up an old boss or use my parents for help if we lived somewhere else. I totally take that for granted, and I have to keep reminding myself that we won't be here for forever!
Anyway, returning to what we're talking about, here are pictures of the process!


At this point we lose a few steps of documentation because I may or may not have dropped my phone in the toilet . . . whoops! It's ok though, here's what you missed: I surreptitiously asked Julie what color she would want a new baby room decoration to be, then went to Hobby Lobby for paint and the clock parts. I just got enamel craft paint, it worked perfectly. Then I called my old boss and asked if he would be willing to print some vinyl for me. What a blessed resource. I typed up the numbers (font: MFT Toast) and got them in matte white. I didn't actually put the whole thing together until after I gave it to her at her shower. I wanted her to see the color and make sure she liked it before I put the vinyl on. I made my dad/Spencer do the math and use the protractor to figure out where the numbers went. The less math I have to do the better.


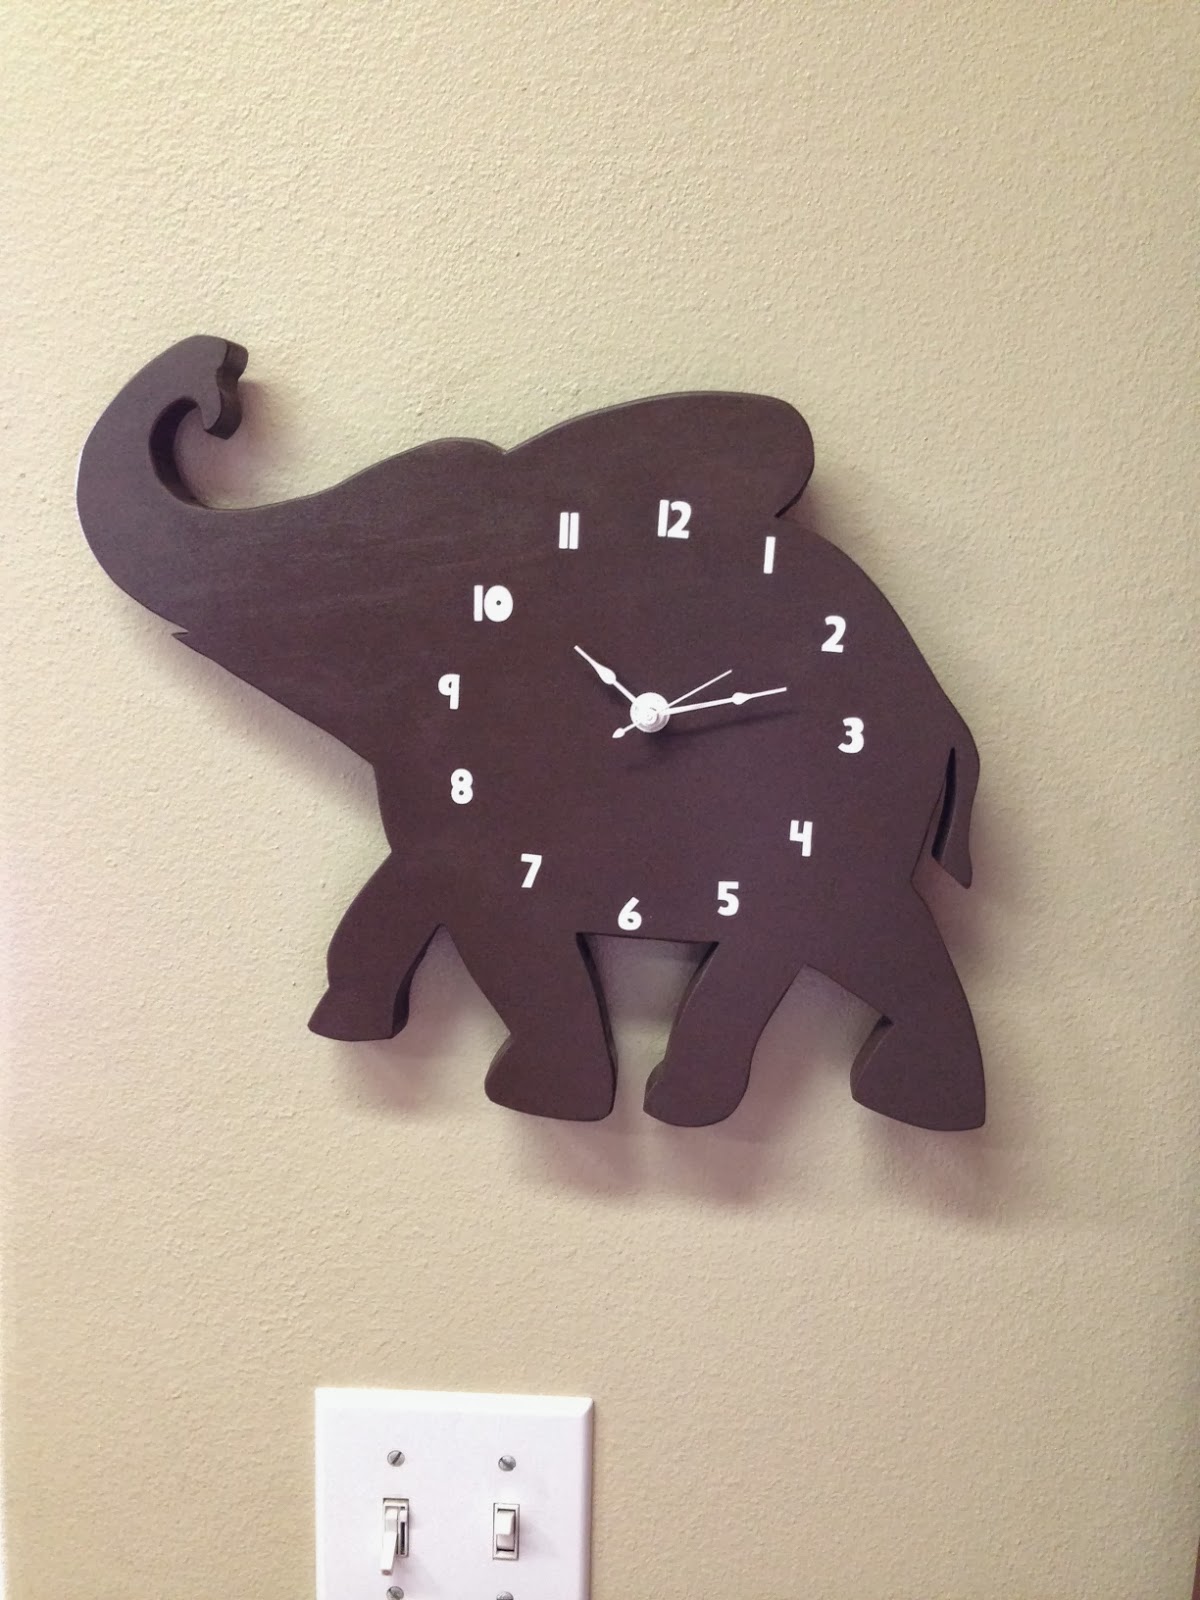
:) Happiness. May baby Tennyson love it as much as I do.


